
This engineered stone is very tough and looks great but it presents a problem when trying to attach things that need to be level. This is mainly because of the very uneven surface but also because drilling into the surface is not easy.
I recently decided to try to solve this problem using LiDAR scanning and 3D Printing. Overkill? Maybe.
Scanning
I have an iPhone Pro, which has a LiDAR aligned with the main camera. This is used for low-light autofocus, measurements and scanning using apps such as Scaniverse. This is what I have started with for an initial experiment.
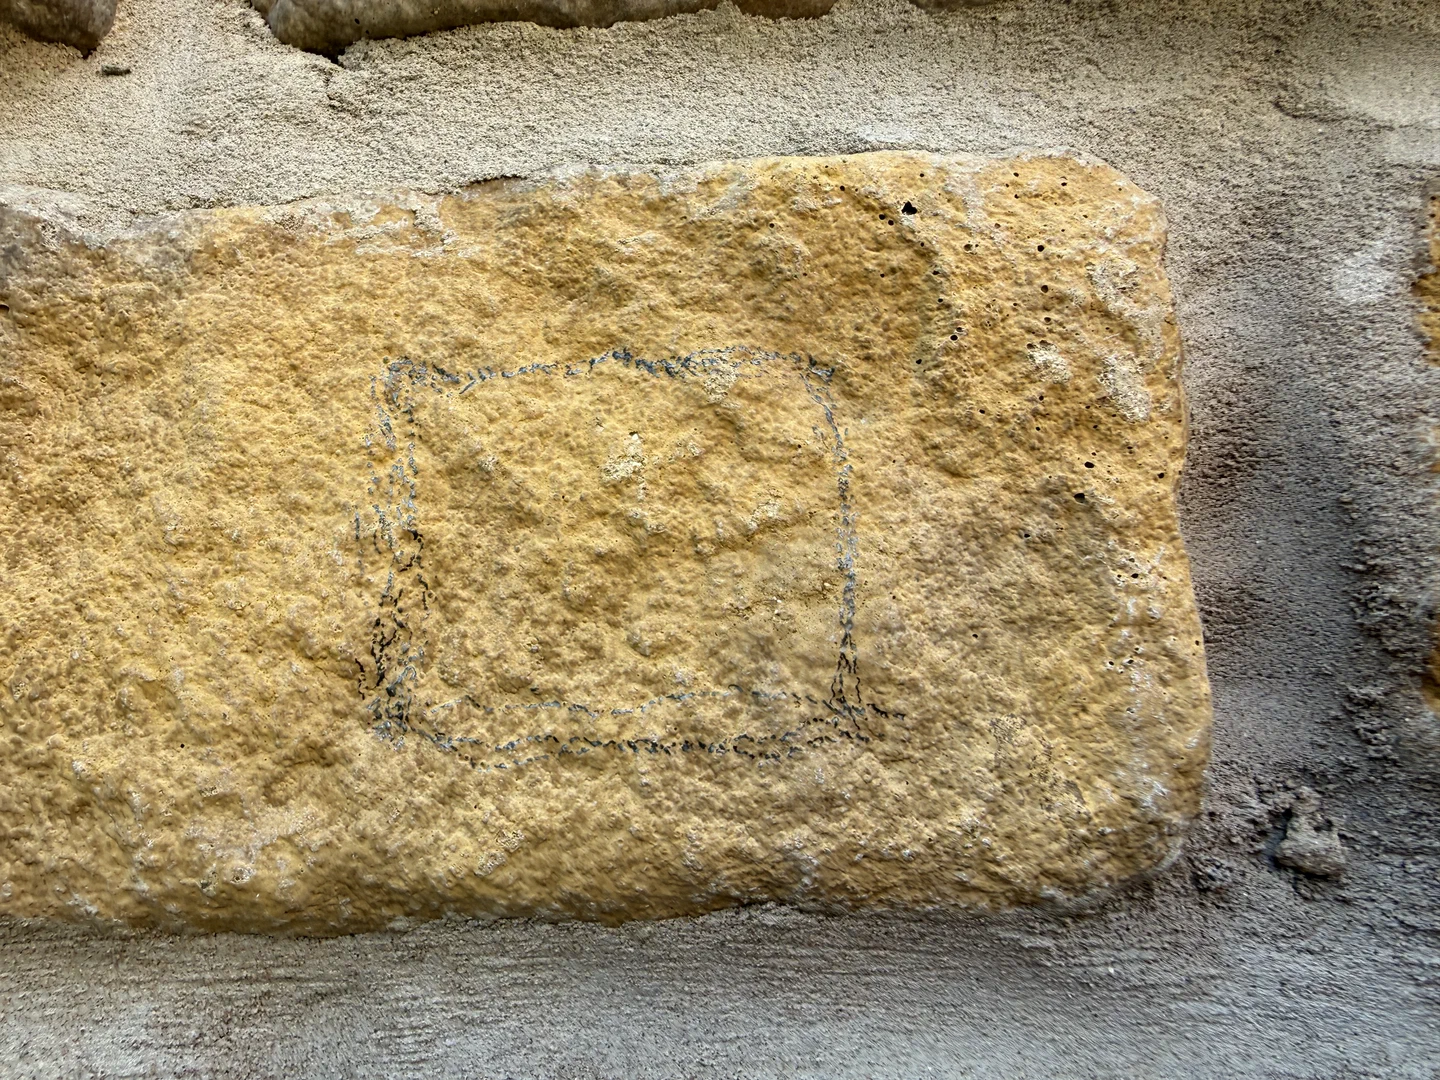
I marked an area on a brick - I thought this would help with alignment later - and used Scaniverse to do a ‘classic mode’ scan. By pointing the camera at the marked brick and changing the angle it takes a few seconds to register enough information to produce a mesh. This is the basic surface information and this is the simplest part of the process.
Working with the Mesh
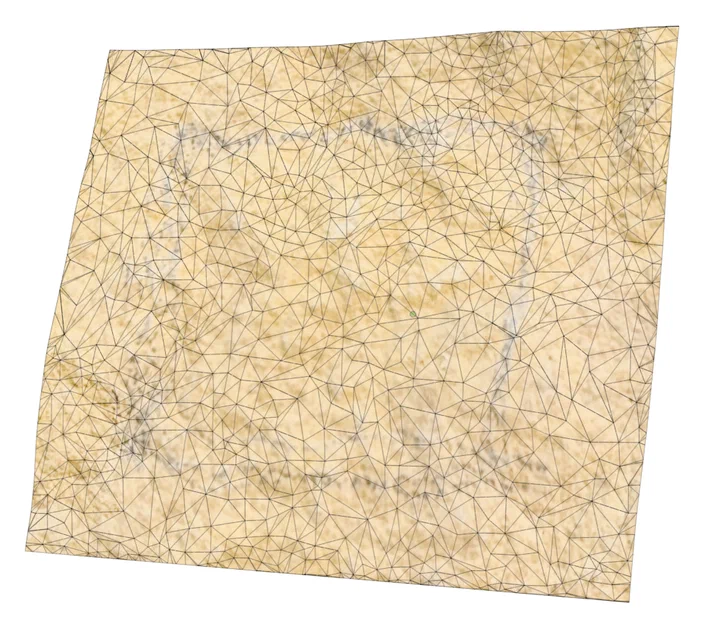
I started by importing the mesh into Fusion. My plan was to use the mesh surface to ‘cut’ or ‘deboss’ the wall shape into the back of a regular shape like a rectangle. I soon realised that Fusion prefers a mesh to be converted into a body which is how Fusion represents most of the generated solids. The raw mesh turned out to be unsuitable for this conversion which led to a considerable amount of googling, AI consulting and trial and error.
Converting the Mesh
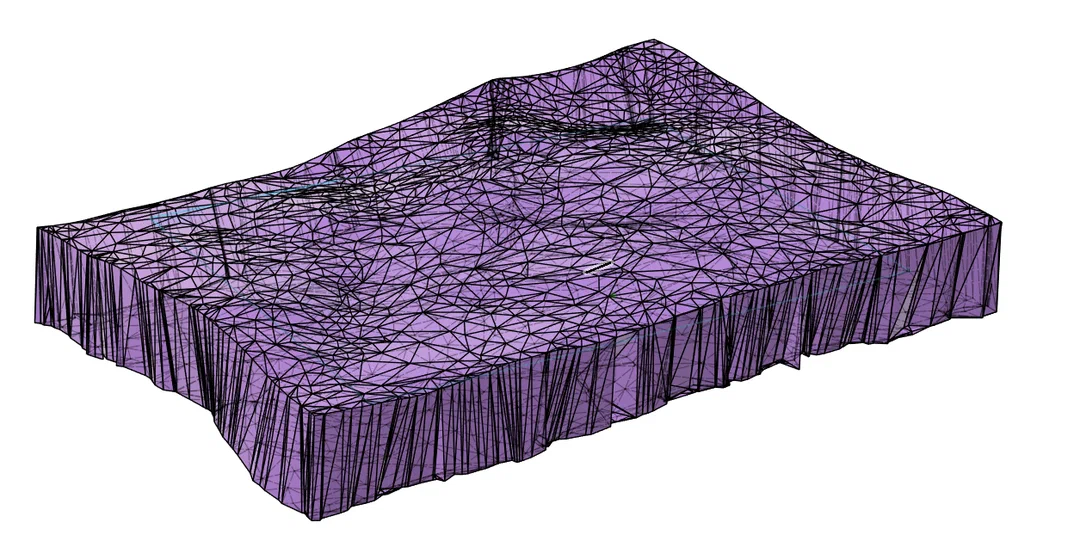
I’ll keep this short. I opened the Scaniverse mesh in Blender and applied the solidify modifier. This made the mesh - which looked like a sheet of crumpled paper - look like a sheet of crumpled paper glued to a cardboard box.
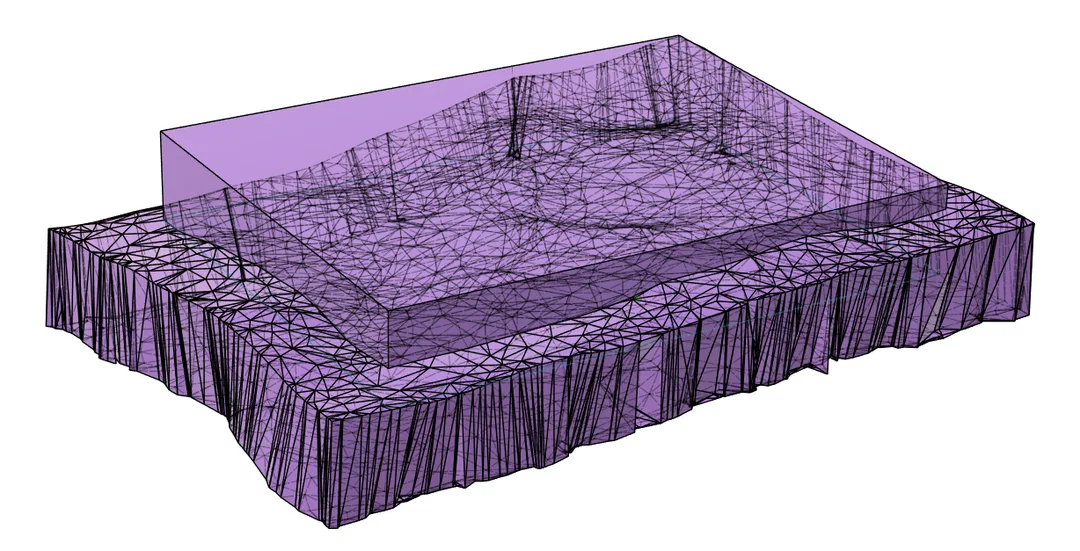
This was imported into Fusion, analysed, repaired, and finally converted into a body. Next, I generated a rectangular solid target body that intersected with the surface of the mesh (now body). Finally using the Fusion Solid->Combine function I used the mesh as a tool body to ‘cut’ into the target body.
Printing
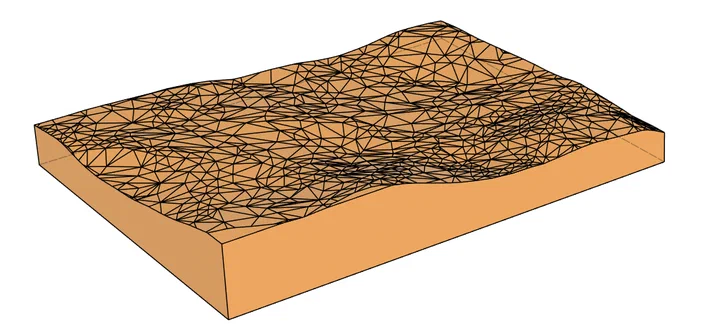
The easiest part. Export the target body directly from Fusion into PrusaSlicer and print. Now to go and fit it to the wall.
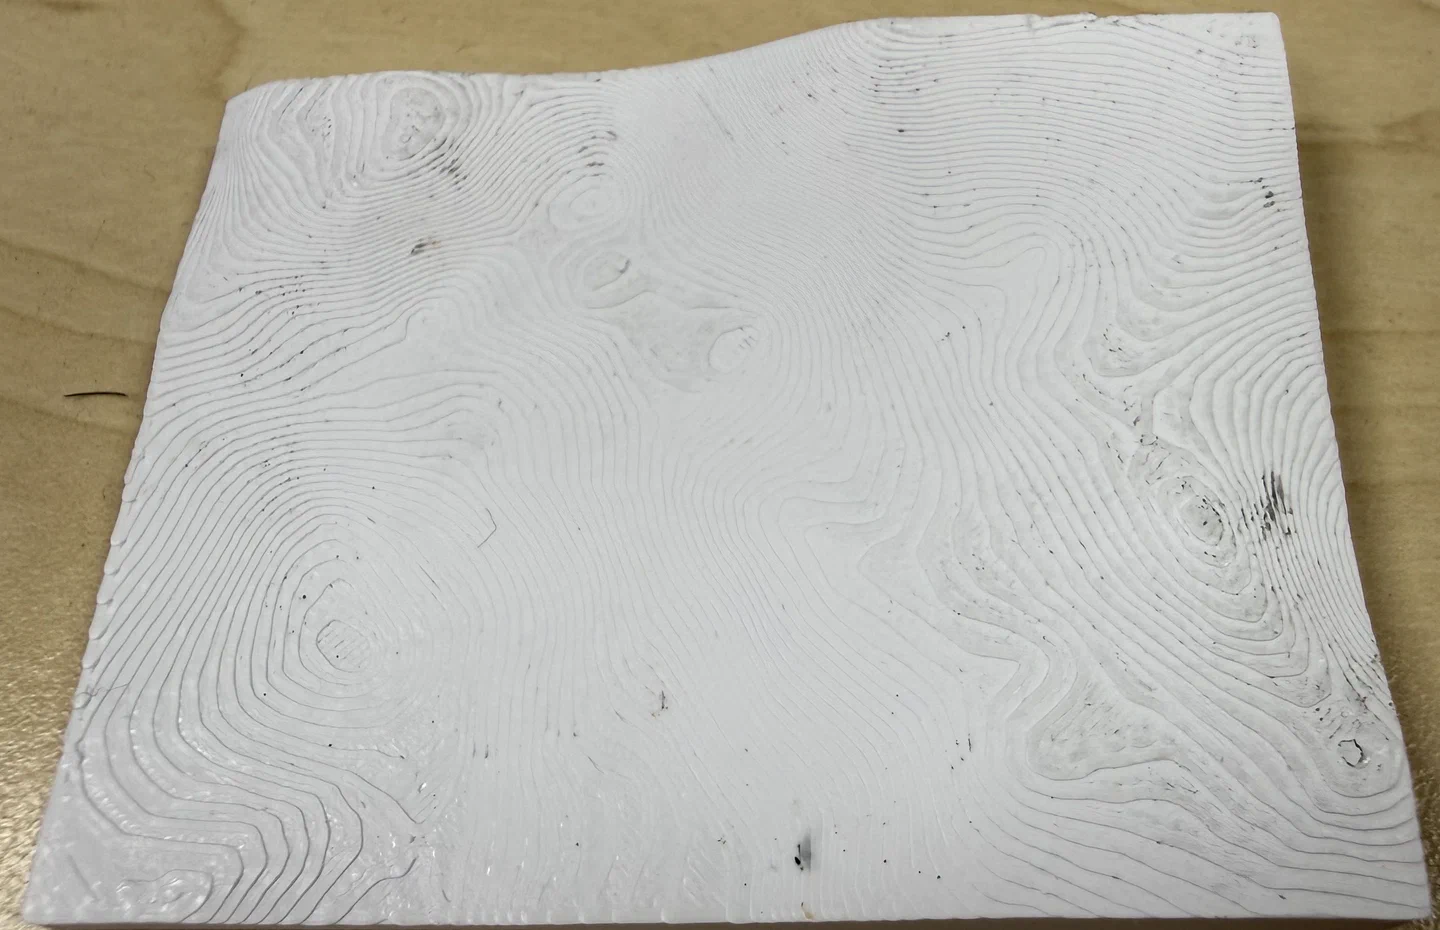
The Result
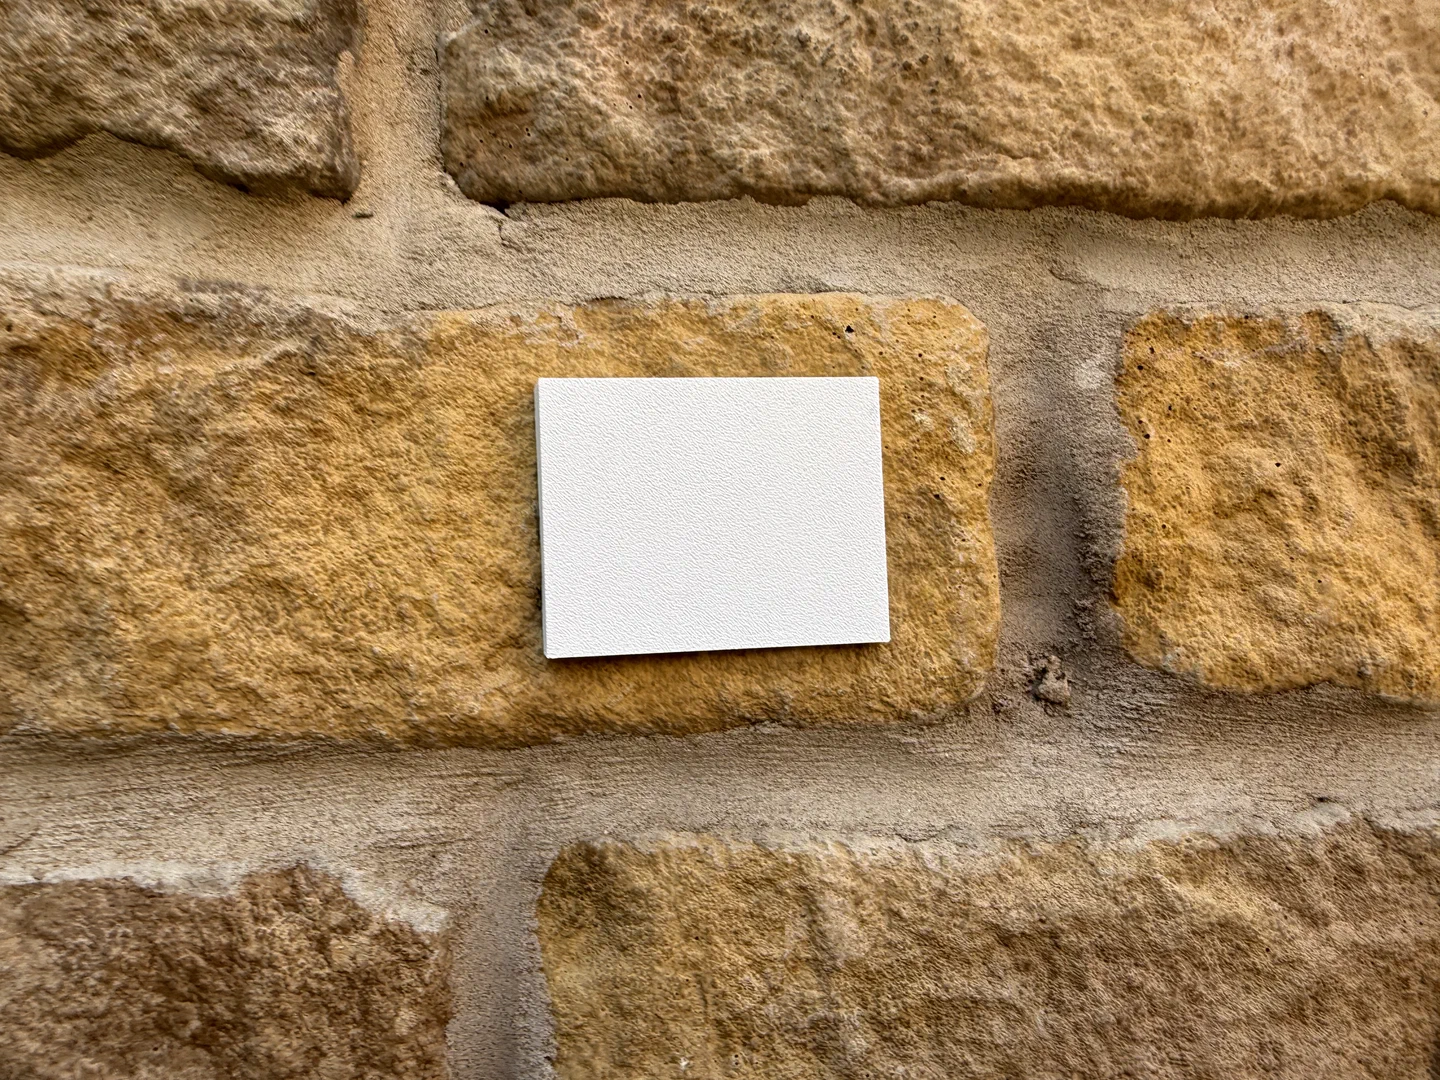
Here is the result. It was a pretty good fit - certainly good enough to level the surface and make it a lot easier to attach a sign or align a hinge (which is my immediate use case).
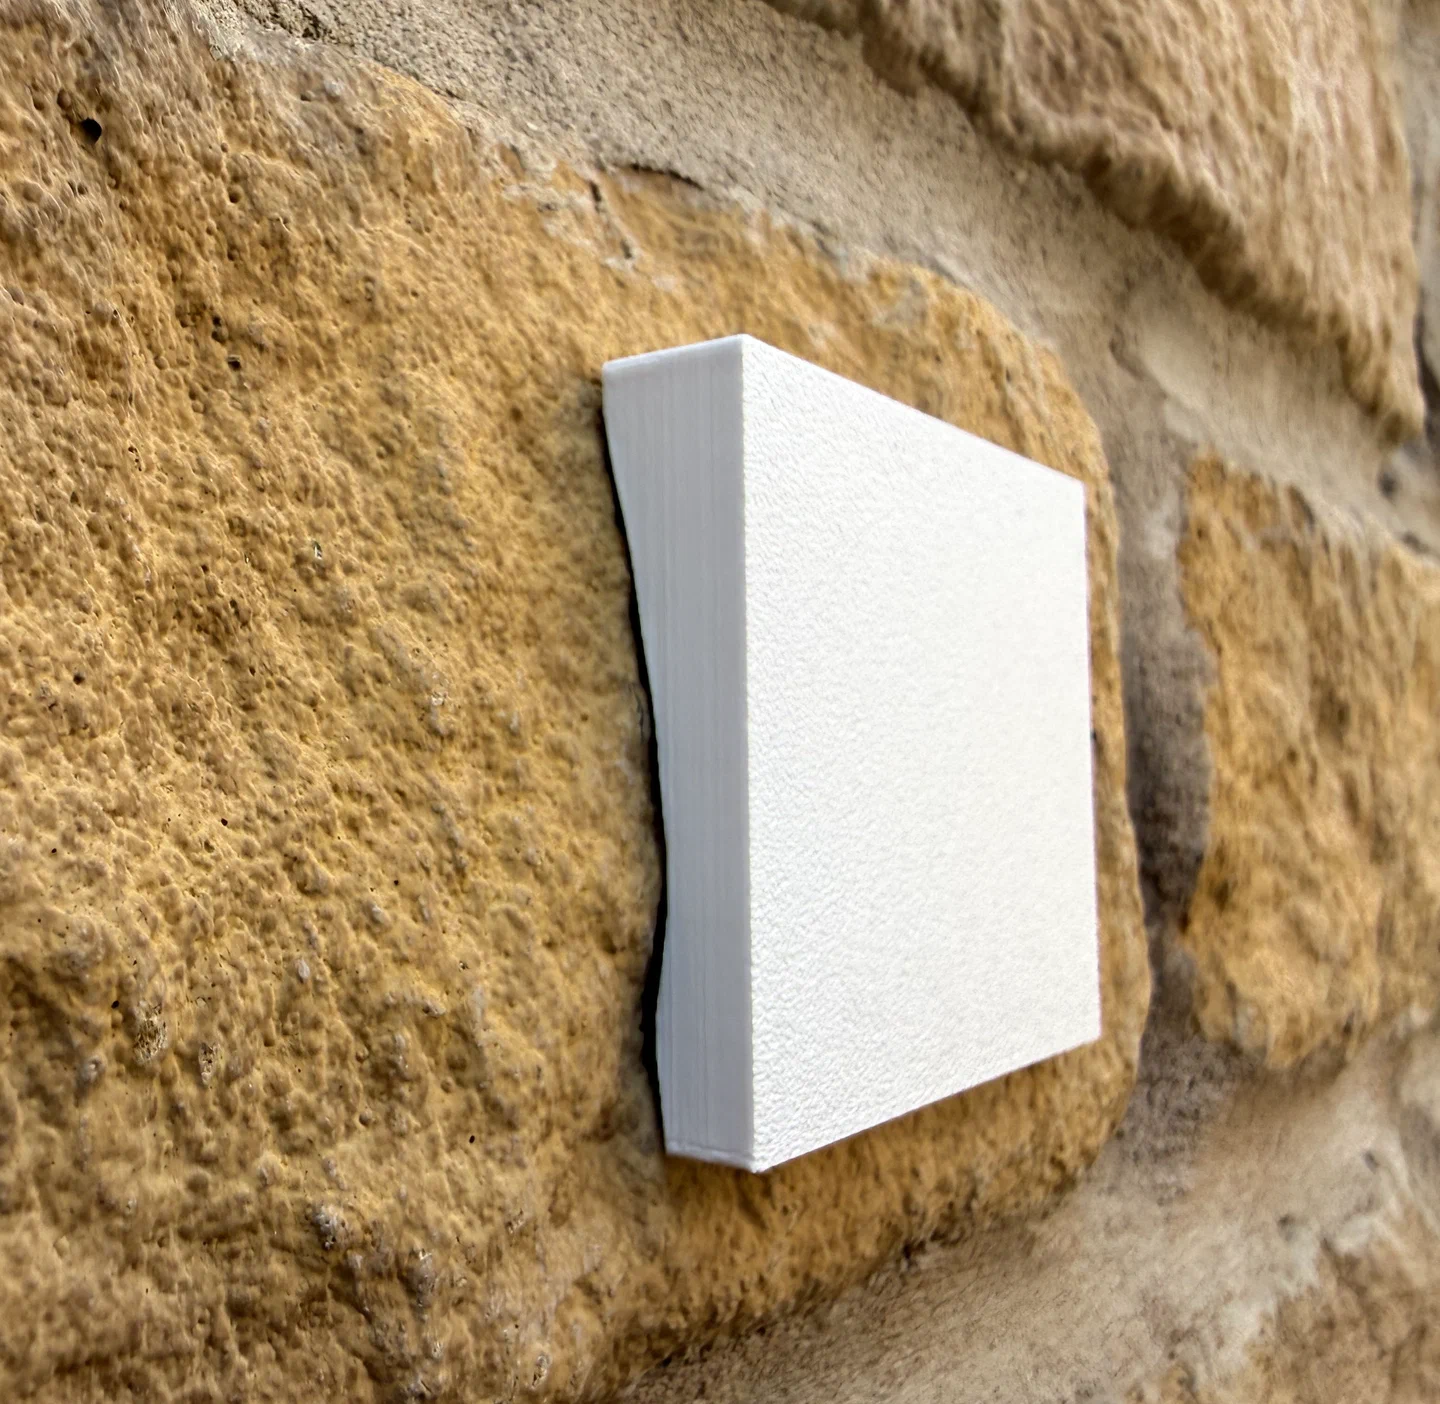
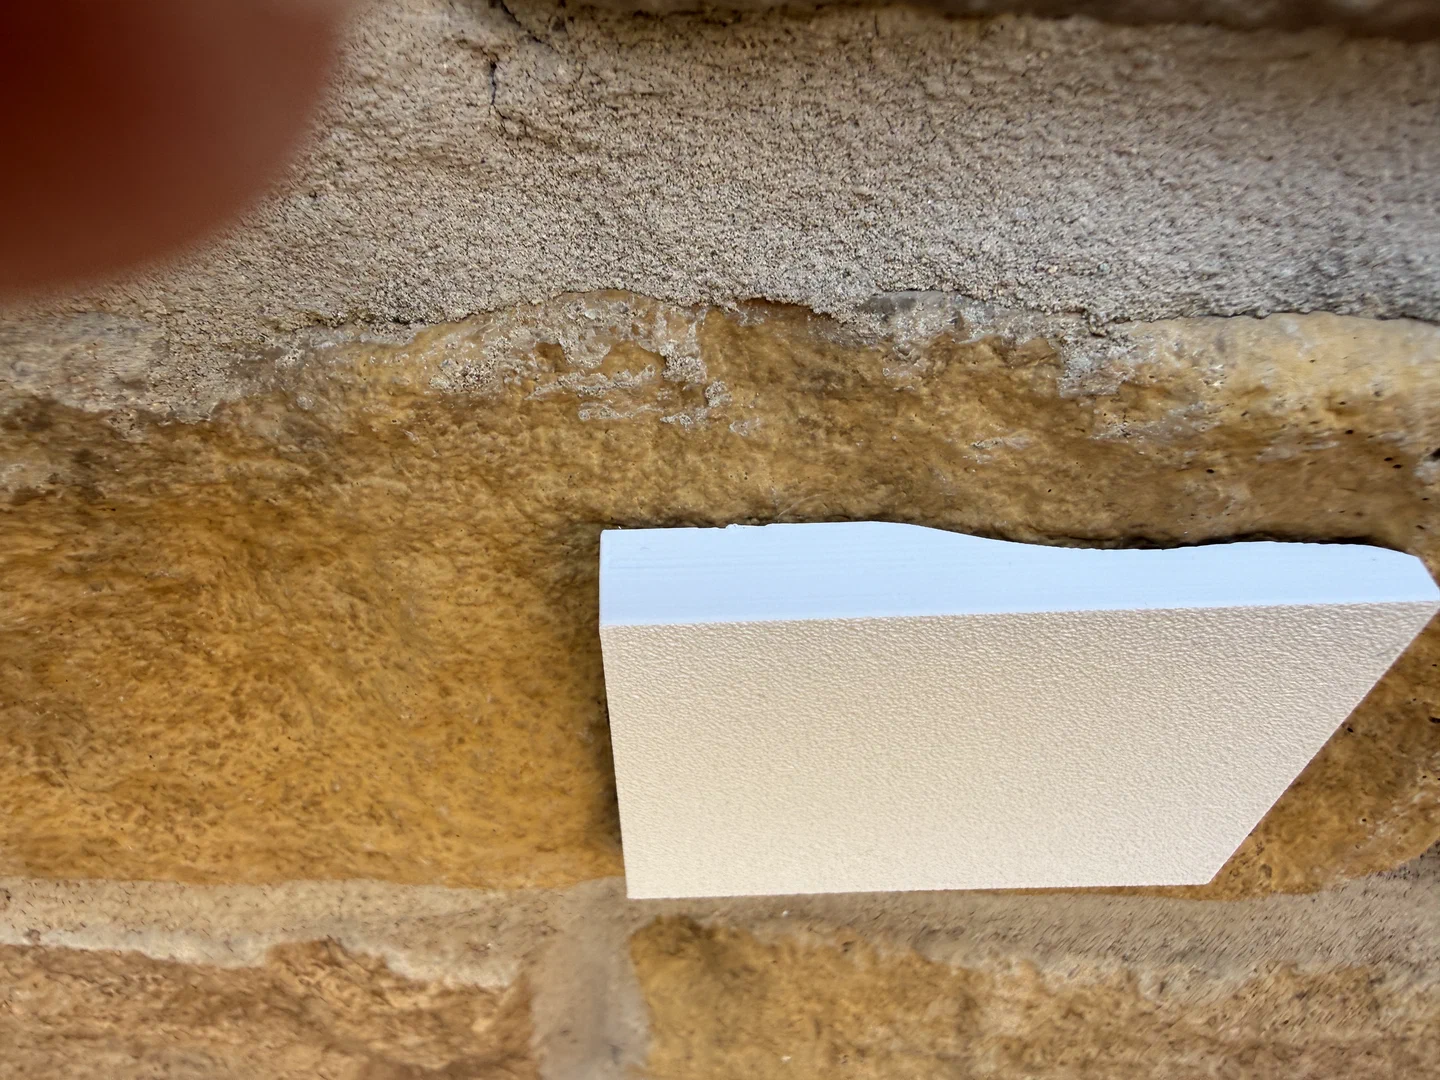
A couple of side views showing off the contouring - the slight gap is partly the temporary adhesive tape I used and partly due to lack of resolution in the scan or print.
Learnings
I will improve this somewhat. First I need to streamline the workflow - currently Scan, transfer via Dropbox, import into Blender, solidify, import into Fusion, Prepare mesh, repair mesh, convert mesh, then use as a tool.
The resolution could be better but there will always be limitations. A lower layer height when printing will help - the Prusa does 0.1mm layer heights. Scanning using something called Gaussian Splat may also help.
I will add some reference points (maybe small cones or other geometric shapes) so I can keep my bearings after scanning - On screen, the brick tends to look the same regardless of viewing angle which can make things difficult.